Boston Fern Survival Guide
Boston Fern Survival Guide
Section titled “Boston Fern Survival Guide”I killed my first Boston fern within three weeks. It went from full and green to a pile of brown confetti all over my coffee table. I didn’t understand what I was doing wrong because I watered it regularly, just like my pothos. Turns out, ferns need a completely different approach than most houseplants, and if you just brought one home, you’re probably about to learn that the hard way.
Boston ferns have this reputation for being dramatic, and honestly, they’ve earned it. But once I figured out what they actually need, mine started doing much better. I’m not going to pretend my current fern is perfect. There are always a few brown fronds, and I still get the occasional mess on the floor. But it’s alive, it’s growing, and I’ve kept it going for over a year now, which feels like a personal victory.
If your Boston fern is struggling or you want to prevent the meltdown that mine had, this guide covers the main things that will make or break your experience with these plants.
Why humidity is life for ferns
Section titled “Why humidity is life for ferns”Boston ferns come from tropical and subtropical environments where the air is constantly moist. In their natural habitat, they grow on forest floors or in swampy areas where humidity stays high throughout the day. When you bring one into your home, especially during winter when the heat is running, you’re putting it in what feels like a desert to the plant.
I learned this after my first fern died. I live in a fairly dry climate, and my apartment gets even drier in winter. The fern was literally drying out faster than I could water it. The fronds started turning brown at the tips, then whole sections would crisp up. I thought I wasn’t watering enough, so I watered more, which created a whole different problem I’ll get to later.
The fix is humidity, but you have to actually commit to it. Misting the plant once a day doesn’t do much. The water evaporates in minutes, and you’re back to dry air. What actually works is creating a more consistently humid environment around the plant.
I moved my fern to the bathroom where it gets steam from showers. That helped immediately. If you don’t have a bathroom with decent light, you can use a humidifier near the plant. I run mine for a few hours each morning during winter, and I can see the difference. According to research from the University of Florida’s IFAS Extension, Boston ferns do best when humidity stays above 50 percent, and they really thrive closer to 70 or 80 percent.
Another option is a pebble tray, though I’ll be honest, I’ve had mixed results with this. You fill a shallow tray with pebbles, add water until it almost reaches the top of the pebbles, then set the pot on top. As the water evaporates, it creates a little humidity pocket around the plant. It’s not as effective as a humidifier, but it’s better than nothing.
Grouping plants together also helps because they all release moisture through their leaves. My fern sits next to a few other humidity-loving plants, and I think that’s part of why it’s doing better now.
Keeping the soil consistently damp
Section titled “Keeping the soil consistently damp”This is where I messed up the most in the beginning. I was either letting the soil dry out completely or drowning the thing because I panicked after it dried out. Boston ferns need their soil to stay damp, which is different from wet and definitely different from dry.
When I say damp, I mean the soil should feel like a wrung-out sponge. If you stick your finger in and it feels dry, you waited too long. If water is pooling on the surface or the pot feels heavy and waterlogged, you’ve gone too far in the other direction.
I check my fern’s soil every two or three days by sticking my finger about an inch down. If it feels dry at that depth, I water it. During summer, I’m watering every other day sometimes. In winter, it’s more like every three to four days because the plant isn’t growing as actively.
The tricky part is that watering needs change based on your environment. If your home is warm and dry, the soil dries out faster. If it’s cool and humid, it stays moist longer. You can’t just set a schedule and forget about it. You have to pay attention.
One thing that helped me was switching to a pot with drainage holes. My first fern was in a decorative pot with no drainage, and I think that contributed to its death. Water would sit at the bottom, the roots would rot, and the plant would die even though the top of the soil looked fine. Now I use a plastic nursery pot inside a decorative cover pot, and I always dump out any water that drains into the cover pot after watering.
The type of soil matters too. Regular potting soil can get compacted and hold too much water. I use a mix that has some peat moss or coco coir along with perlite to keep it light and moisture-retentive without being soggy. You can buy pre-made mixes for ferns, or you can make your own. I’ve done both, and honestly, the pre-made stuff works fine.
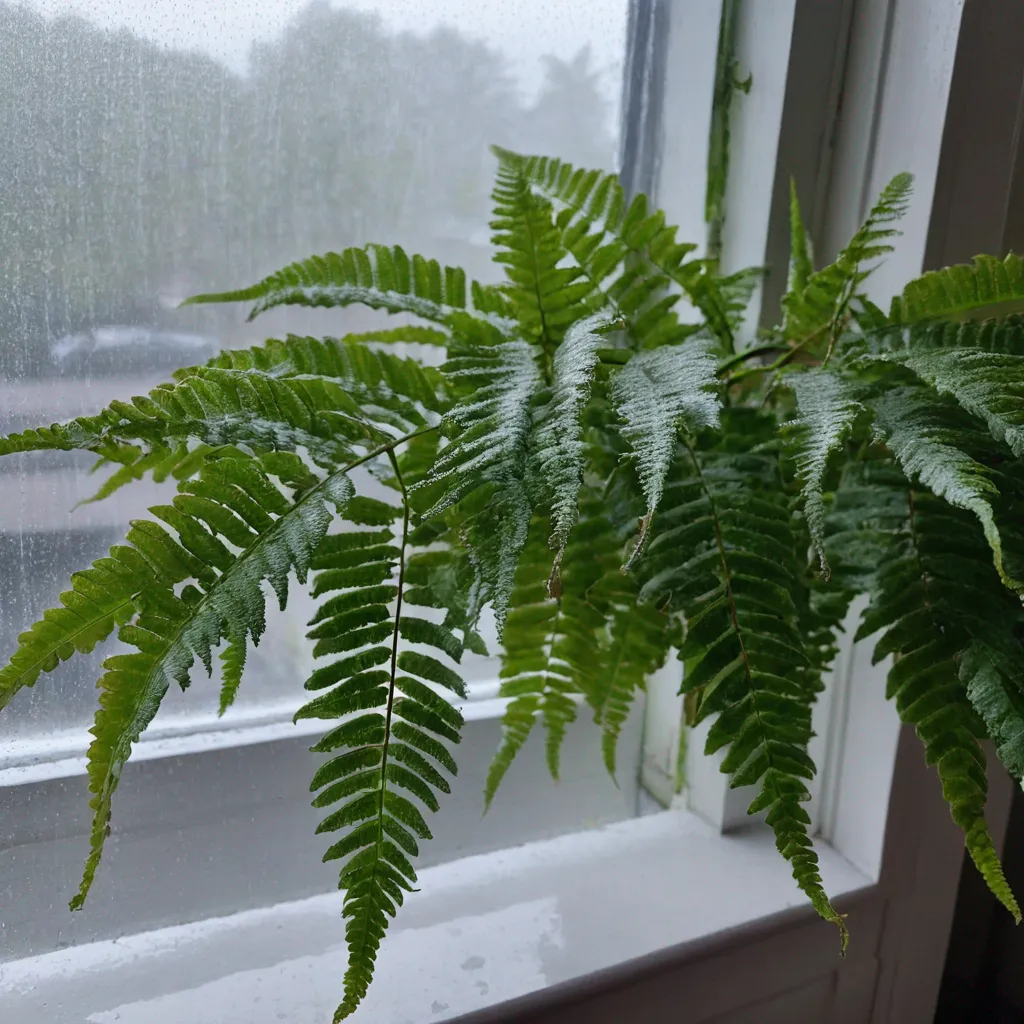
 Above: A close up look at the symptoms.
Why it sheds brown needles everywhere
Section titled “Why it sheds brown needles everywhere”If you own a Boston fern, you’ve dealt with the mess. Those tiny brown needles get everywhere, and no matter how much you vacuum, you’ll find them weeks later in random corners of the room. It’s annoying, but it’s also normal to some extent.
Ferns naturally shed older fronds as they grow new ones. The problem is when it’s shedding excessively, which usually means something is off with care. Most of the time, it’s a humidity or watering issue. When the air is too dry or the soil dries out, the fronds start dying from the tips inward. They turn brown, crisp up, and eventually fall off.
I noticed my fern sheds way more in winter when the humidity drops. Even with a humidifier running, it’s not quite enough to keep every frond perfect. I’ve accepted that some shedding is going to happen, and I just trim off the worst fronds to keep the plant looking decent.
If your fern is losing a lot of fronds all at once, check your watering and humidity first. Make sure the soil isn’t drying out completely between waterings, and boost the humidity if you can. Also check for pests. Spider mites love ferns, especially in dry conditions. I had a minor infestation once, and it made the shedding so much worse. You can usually spot them by looking for tiny webs or stippling on the fronds.
Sometimes fronds turn brown because they’re old and the plant is redirecting energy to new growth. You can tell the difference because old fronds usually yellow first before browning, and they’re typically on the outer edges of the plant. If the whole plant is browning at once, that’s stress, not natural aging.
I keep a small handheld vacuum near my fern now, and I just do a quick cleanup every few days. It’s easier than letting it build up and having to do a deep clean later.
Light needs (Not too bright)
Section titled “Light needs (Not too bright)”Boston ferns do not want direct sun. I repeat, do not put your fern in a sunny window. I tried this once because I thought more light would help it grow, and the fronds got scorched within a few hours. They turned pale and crispy, and I had to cut off half the plant.
In nature, these ferns grow under the canopy of trees where they get filtered, indirect light. They’re used to shade. In your home, they do best in bright indirect light or even medium light. I keep mine about six feet from an east-facing window, and it gets gentle morning light plus ambient brightness for the rest of the day.
If you only have low light, the fern will survive but it probably won’t grow much. I had mine in a north-facing room for a while, and it just kind of sat there. It didn’t die, but it didn’t put out new growth either. When I moved it to a brighter spot (still indirect), it started producing new fronds within a couple weeks.
According to Michigan State University Extension, Boston ferns can tolerate low light but they grow best in moderate to bright indirect light. They also note that too much direct sun will damage the fronds, which matches what I experienced.
If you’re not sure if your light is right, watch the plant. If the fronds are pale or yellowish, it might be getting too much light. If they’re dark green but the plant isn’t growing, it might need a bit more light. Healthy fronds should be a medium to bright green color.
You can also use a sheer curtain to filter light if you have a bright window but want to keep the fern nearby. I’ve seen people do this successfully, though I haven’t tried it myself.
 Above: The tools you need to fix this.
Reviving a crispy fern
Section titled “Reviving a crispy fern”So your fern is half-dead and you’re wondering if it’s worth saving. I’ve been there, and I can tell you that Boston ferns are surprisingly resilient if there’s any green left on them.
The first thing I do when reviving a crispy fern is trim off all the dead fronds. Cut them at the base where they emerge from the soil. This sounds drastic, but dead fronds aren’t coming back, and removing them lets the plant focus energy on new growth. When I revived my current fern after a vacation disaster, I cut off about 60 percent of the fronds. It looked pathetic, but it came back.
Next, check the roots. If the soil is bone dry and pulling away from the edges of the pot, the plant is severely dehydrated. I soak the entire pot in a sink or bucket of water for about 20 minutes to rehydrate the root ball. Then I let it drain completely before putting it back in its spot.
If the soil is soggy and the pot feels heavy, you might be dealing with root rot. Carefully remove the plant from the pot and look at the roots. Healthy roots are white or light tan and firm. Rotten roots are brown, black, and mushy. Trim off any rotten sections with clean scissors, repot in fresh soil, and hold back on watering until the plant stabilizes.
After you’ve addressed the immediate problem, focus on creating better conditions. Move the fern to a spot with appropriate light, increase the humidity, and stay consistent with watering. Don’t fertilize a stressed plant. Wait until you see new growth before adding any fertilizer, and even then, use a diluted solution.
Recovery takes time. I didn’t see new fronds on my fern for about three weeks after I started the revival process. Then tiny green fiddleheads started popping up from the center, and I knew it was going to make it. Be patient and don’t give up if you don’t see immediate results.
One thing I learned from the University of Georgia Extension is that Boston ferns can go dormant if conditions get too harsh. They might look dead, but the roots can still be alive. As long as the rhizome (the thick, fuzzy stem at the base) is firm and not mushy, there’s a chance the plant will push out new growth when conditions improve.
If your fern is truly beyond saving, that’s okay too. I composted my first one and started fresh with the knowledge I’d gained. Sometimes that’s the best option, and it doesn’t mean you failed. It means you learned what not to do next time.
Boston ferns aren’t the easiest houseplants, but they’re not impossible either. They just need you to pay attention and meet their specific needs. Once you get into a routine with watering and humidity, they settle in and become easier to manage. Mine still makes a mess, and I still find brown needles in weird places, but it’s growing and mostly green, and that’s good enough for me.
References
Section titled “References”University of Florida IFAS Extension. “Foliage Plant Care: Nephrolepis exaltata ‘Bostoniensis.’” Accessed via Environmental Horticulture Department publications on fern care and humidity requirements.
Michigan State University Extension. “Growing Ferns Indoors.” Information on light requirements and general care for indoor ferns.
University of Georgia Extension. “Houseplant Care: Ferns.” Details on Boston fern dormancy and recovery from stress.