Bromeliad Care Basics
Bromeliad Care Basics
Section titled “Bromeliad Care Basics”I bought my first bromeliad at the grocery store three years ago. It had this ridiculous hot pink flower spike sticking out of the center, and I thought it looked like something from a sci-fi movie. The cashier told me it was “super easy,” which is what people always say about plants that end up dead within a month.
But here’s the thing: bromeliads actually are pretty forgiving once you understand how they work. They’re different from most houseplants because they evolved as epiphytes in the wild, meaning they naturally grow on tree branches in tropical forests rather than in soil. This changes everything about how you care for them.
I’m going to walk you through the basics that actually matter, not the overly complicated stuff you’ll find in some plant care guides. This is what I wish someone had told me when I brought that first one home.
Watering the central ‘tank’
Section titled “Watering the central ‘tank’”The weirdest thing about bromeliads is that you’re supposed to pour water directly into the center of the plant. Most bromeliads form a rosette of leaves that creates a natural cup or reservoir in the middle. In nature, this tank collects rainwater and provides the plant with moisture.
When I first learned this, I thought it sounded made up. Why would you pour water into the leaves instead of the soil? But that’s exactly what you do. I fill the central cup about halfway with water, and I flush it out and refill it every week or two. Flushing matters because standing water can get gross and stagnant, especially in the warmth of your house.
You still want to water the soil occasionally, but bromeliads don’t need their roots to be constantly moist like a fern would. I water the potting mix maybe once every two weeks, just enough to keep it slightly damp. The roots are mostly there to anchor the plant, not to drink up tons of water. According to research from the University of Florida’s IFAS Extension, bromeliad roots are primarily for attachment rather than water absorption, which explains why they’re so tolerant of neglect compared to other tropicals.
One mistake I made early on was using tap water straight from the faucet. My city water is heavily treated, and I noticed brown tips forming on the leaves after a few months. Bromeliads are sensitive to the salts and chemicals in tap water. Now I use filtered water or I let tap water sit out overnight before using it, which helps some of the chlorine evaporate.
If you live somewhere humid, the tank stays full longer. If your house is dry (like mine in winter), you’ll need to top it off more often. Just stick your finger in there to check. Empty? Fill it up.
Care for the flower spike
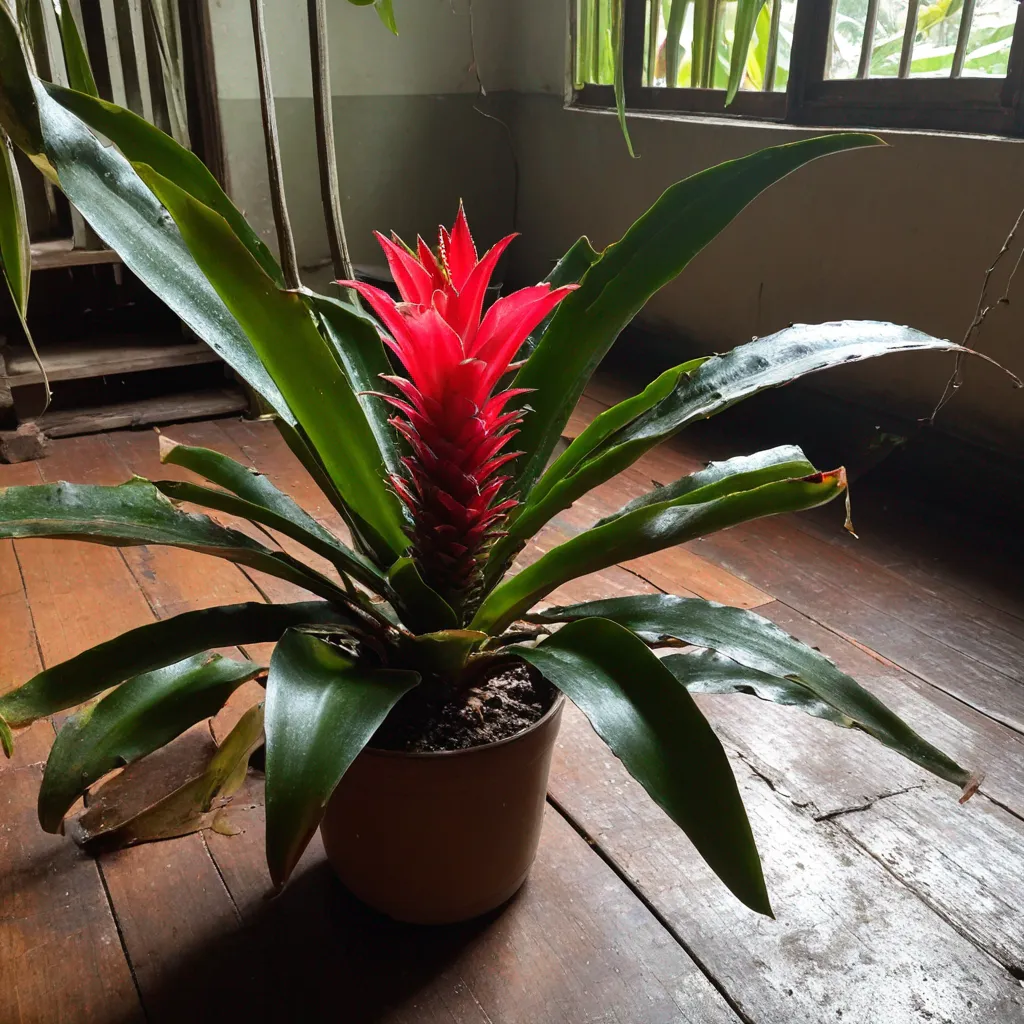
Section titled “Care for the flower spike”That bright, showy thing sticking out of your bromeliad isn’t technically the flower. It’s called an inflorescence or flower spike, and it’s made up of modified leaves called bracts. The actual flowers are usually tiny and tucked between those colorful bracts.
Here’s what nobody tells you at the store: that flower spike is going to last for months. Mine lasted almost five months before it started to fade. During that time, you don’t need to do anything special. Just keep up with your regular watering routine.
The spike will eventually start to look tired. The color fades from that electric pink or red to a duller, brownish version of itself. This is completely normal and not something you caused by messing up the care. Once it’s clearly done (you’ll know because it looks papery and sad), you can cut it off at the base with clean scissors or pruning shears.
I left mine on for too long the first time because I was in denial about it being over. It just sat there looking increasingly pathetic until I finally accepted reality and chopped it off. Cutting it earlier doesn’t hurt the plant at all.
Some people ask if you can get the bromeliad to flower again. The short answer is no. Each rosette only flowers once in its lifetime. But (and this is important), the plant produces offsets called pups that will eventually flower on their own. So you’re not really losing the show forever, you’re just waiting for the next generation.
 Above: A close up look at the symptoms.
What to do with ‘pups’
Section titled “What to do with ‘pups’”After your bromeliad flowers, it starts making baby plants around its base. These are the pups. They look like miniature versions of the mother plant and they’ll grow slowly at first.
You have two options here, and I’ve done both. You can leave the pups attached to the mother plant, or you can separate them once they’re big enough. There’s no wrong choice. It’s mostly about what you want your plant to look like.
If you leave them attached, you’ll end up with a clump of bromeliads growing together. This looks full and dramatic, but it takes up more space. I did this with my first bromeliad and ended up with three rosettes in one pot. It was impressive until it got so big I had nowhere to put it.
If you want to separate the pups, wait until they’re at least one third the size of the mother plant. Some sources say to wait until they’re half the size, but I’ve had success with slightly smaller ones. The key is that they need to have a few of their own roots starting to form. According to the Bromeliad Society International, pups removed too early often struggle to establish themselves because they’re still dependent on the mother plant.
To remove a pup, I use a clean, sharp knife and cut as close to the mother plant as possible, trying to get some of those small roots with it. Then I pot it up in a well-draining mix. Orchid bark mixed with perlite and a bit of peat works well. Regular potting soil is usually too dense and holds too much moisture.
The newly separated pup will look a little sad for a few weeks while it adjusts. Don’t panic. Just keep the central tank filled with water and keep the potting mix lightly moist. It’ll perk up.
I haven’t done this yet with all my bromeliads because honestly, sometimes I’m lazy and it’s easier to just let them do their thing in one pot. Both approaches work fine.
Why the mother plant dies
Section titled “Why the mother plant dies”This is the part that freaked me out when it first happened. After flowering and producing pups, the mother plant will slowly die. The leaves start to brown from the outside in, and the whole rosette gradually declines over the course of several months.
This is not your fault. You didn’t kill it. This is the natural lifecycle of a bromeliad. Each rosette is monocarpic, which means it flowers once and then dies. It sounds dramatic, but it’s just how they work.
The mother plant is putting all her energy into those pups. She’s basically ensuring the next generation gets established before she checks out. It’s actually kind of touching when you think about it, though mostly it’s just weird to watch a plant slowly decline while knowing there’s nothing you can do about it.
You can cut away the dead leaves as they brown to keep things tidy. I do this mostly because I don’t like looking at dead foliage. Eventually, once the mother rosette is completely dead, you can remove it entirely from the pot if you separated the pups, or just pull out the dead center if you left everything together.
The first time this happened, I thought I had somehow messed up the watering or the light. I checked all my care routines and couldn’t figure out what I’d done wrong. Then I finally looked it up and learned this was completely normal. Understanding the lifecycle makes the whole process less stressful.
 Above: The tools you need to fix this.
Light requirements
Section titled “Light requirements”Bromeliads are often sold as low-light plants, which is misleading. They can tolerate lower light than some tropical plants, but they do best in bright, indirect light. Mine sits about six feet from an east-facing window, and it’s happy there.
Direct sun will scorch the leaves. I learned this the hard way when I put one on my south-facing windowsill in summer. The leaves developed these pale, bleached-out patches that never really recovered. Now I’m more careful about placement.
If your bromeliad’s leaves start to look pale or the color seems washed out, it might be getting too much light. If the leaves are dark green and the plant seems to be stretching or leaning toward the window, it probably wants more light.
The truth is, different bromeliad species have different light preferences. The ones with softer, greener leaves (like many Guzmania varieties) generally prefer less light. The ones with stiffer, more colorful leaves (like some Neoregelia types) can handle brighter conditions. Research from the University of Georgia Extension notes that variegated or highly colorful varieties need more light to maintain their coloration.
I don’t own any of the really sun-loving types because my apartment just doesn’t get enough light. I stick with the more forgiving varieties that do okay in medium to bright indirect light. This is something to consider before you buy: look at your available light first, then choose a variety that matches.
If you only have low-light spots, bromeliads will survive there, but they probably won’t flower. They’ll live and produce pups eventually, but the whole process will be slower and less dramatic. For me, that’s fine. I’m patient, and I’d rather have a healthy plant that takes its time than one that’s struggling under a grow light.
Bromeliads aren’t the easiest plants I own, but they’re far from the hardest. Once you get past the weirdness of the tank watering and accept the whole lifecycle thing, they’re actually pretty straightforward. They’ve taught me that sometimes plants just do their thing on their own timeline, and your job is mostly to not get in the way.
References
Section titled “References”Bromeliad Society International. “Growing Bromeliads.” https://www.bsi.org/
University of Florida IFAS Extension. Broschat, T.K., and Meerow, A.W. “Bromeliads.” Environmental Horticulture Department. https://edis.ifas.ufl.edu/
University of Georgia Extension. Horticulture Team. “Growing Bromeliads.” https://extension.uga.edu/